Two Pews – A Look Behind the Scenes – Part 2 of 2
For those who missed the first portion of this article, the link is here: Read Part 1 of This Series.
This is by no means a complete documentation of building the pews. It is sufficient however, to give the reader an accurate idea of what processes are utilized in the construction of custom furniture.
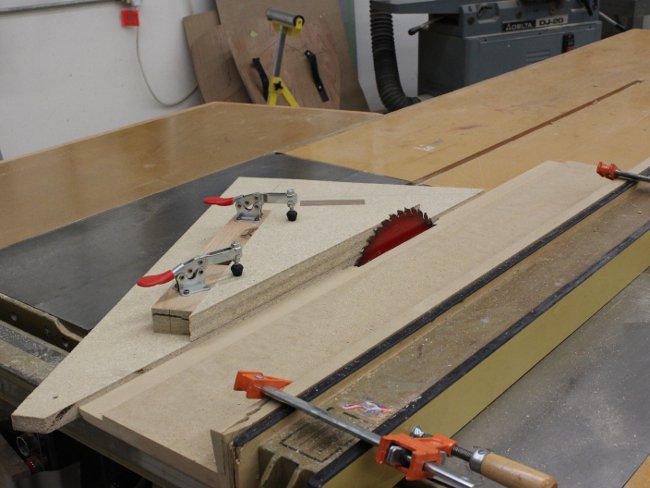
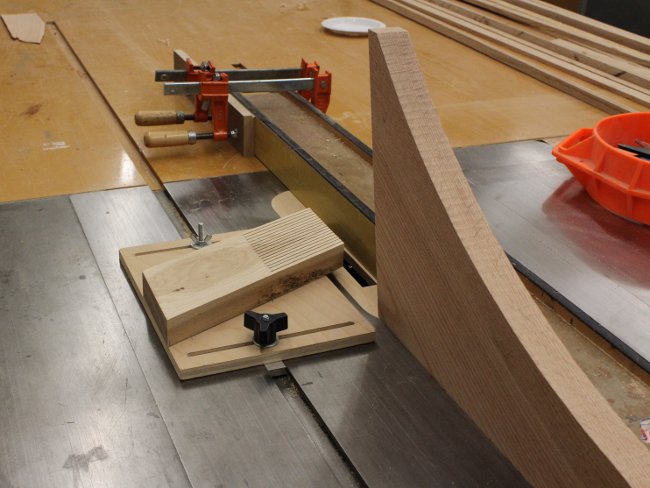
Two pews required 4 panels to form the core of the arms. To ensure proper fit, a jig is used to trim them to exact dimensions. Note that the above operation requires specific steps to do safely. I won’t get into the details on that now as it is outside of the scope of this article.
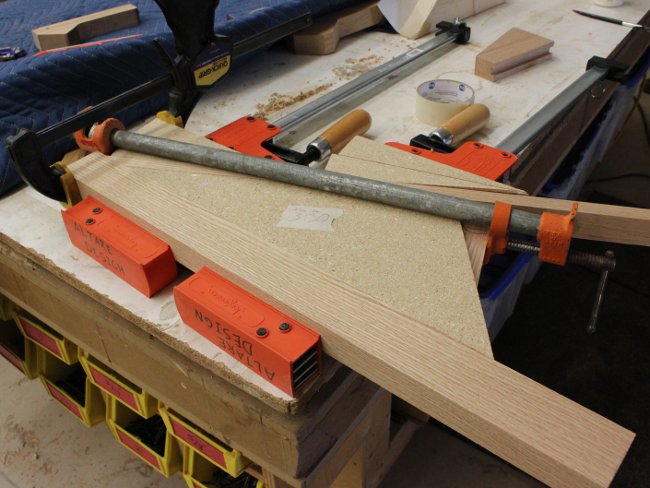
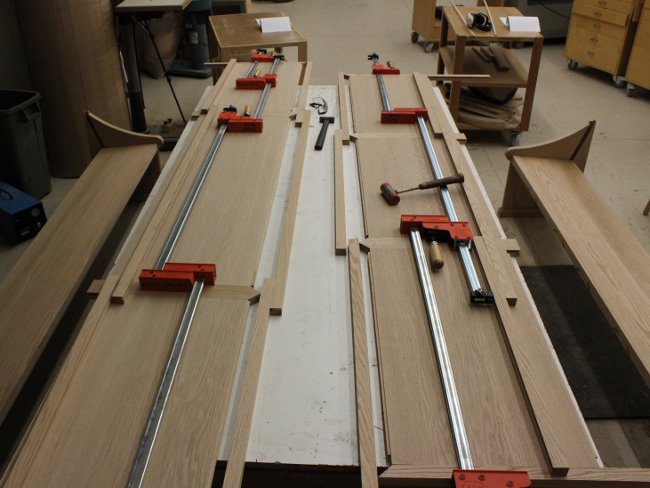
After cutting the wedge-shaped panels, solid oak boards are glued onto the two long edges. Notice the wedges being used in conjunction with the clamps? They are faced with sandpaper to prevent slipping. Without them, it would be impossible to clamp angled surfaces like this.
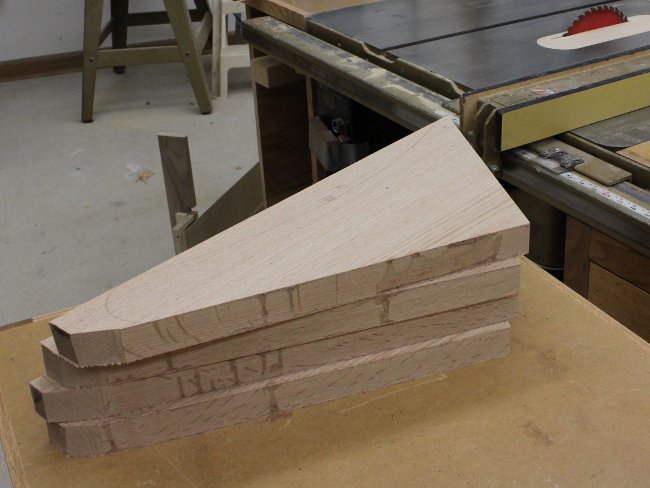
After the edging was flushed to the surface, oak veneer was pressed onto both faces. Pencil lines can be seen on the surface here. This is the final shape that will be cut in the next step.
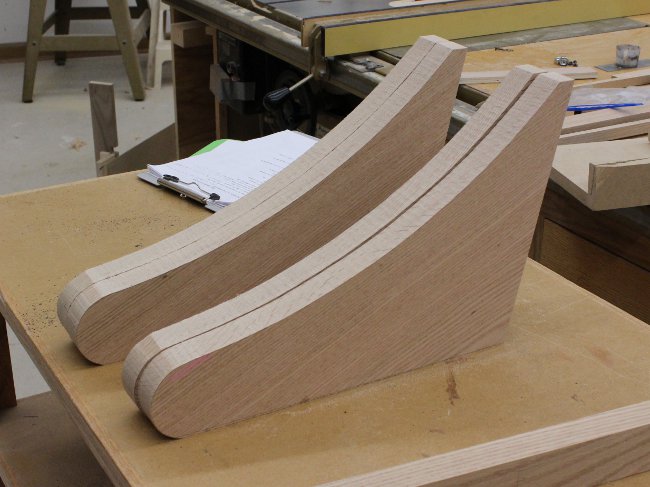
All the arms were cut close to the pencil line on the bandsaw. They will later be trimmed to exact dimensions using a template and a special template cutting bit on a router table.
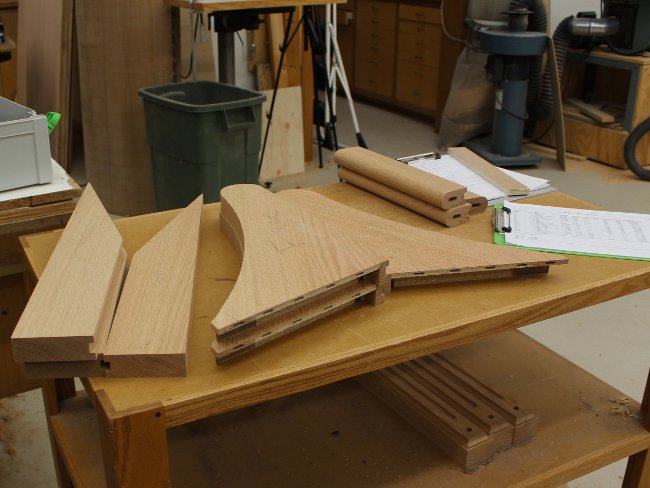
The arms need to have grooves on the bottoms to accept panels. This setup is for left hand arms. The right arms are done in a similar manner but require a few alterations to the process.
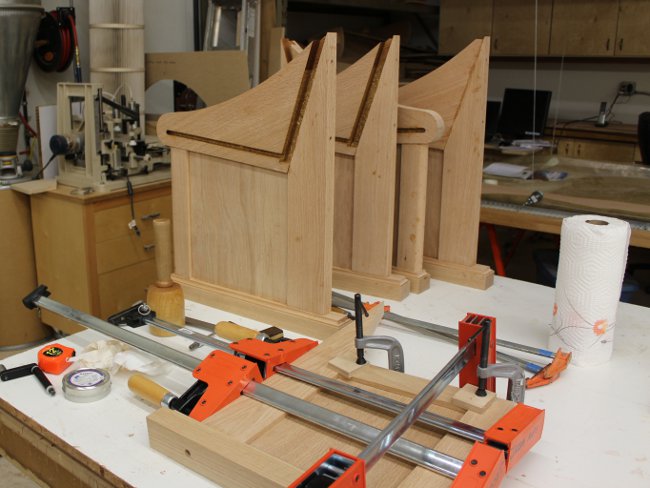
All the joinery is cut on the arms, feet and legs. There’s a combination of floating tenon, dowel and tongue and groove joinery being used here.
Each assembly is complex enough to require over 15 minutes of time to spread glue and put together. Epoxy with a long open time was the glue of choice for that reason.
The seats are 3/4″ thick solid oak. That is plenty strong for the application considering it is supported underneath and attached to a tall back for added stiffness. For appearance sake though, it needed to have a thicker front edge so an additional strip of oak was glued in place. Round bullnosing will then be glued to the front of that.
The backs were made from a combination of plywood and solid oak to achieve a combination of strength, stability and durability.
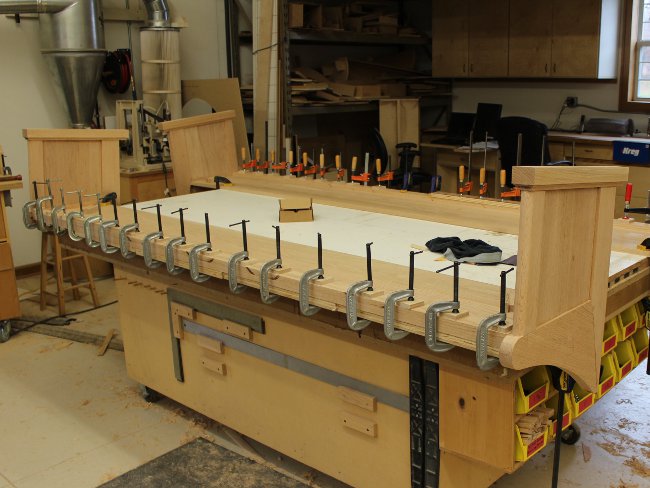
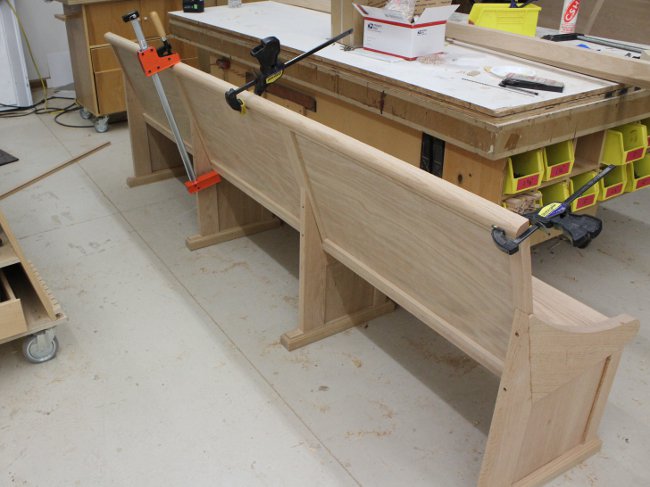
Here the legs are in place and the last piece of wood is attached in the form of round trim on the top of the pew’s back. There’s some cleanup, fitting and finishing work that needs to happen still but otherwise, this pew is complete.

